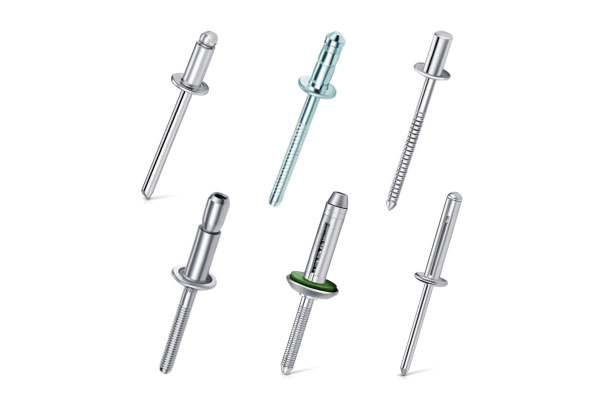
Hammer-drive rivets (also called drive rivets or hammer-set fasteners) are one-piece, semi-tubular metal rivets designed for quick installation: you simply insert the rivet and strike the mandrel (“pin”) head with a hammer. As the pin drives in, it expands the rivet body to lock into place.
- One-piece design: No separate mandrel to lose.
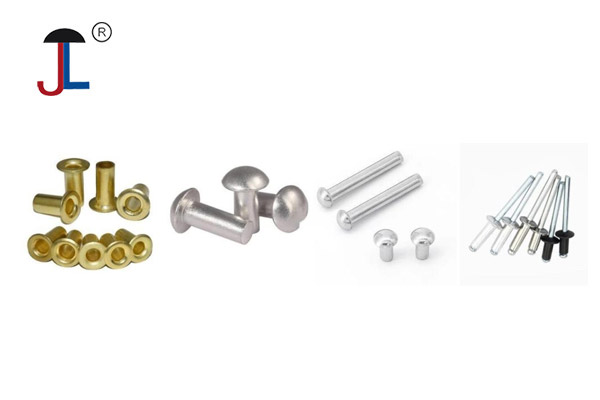
- Material options: Typically zinc, aluminum, steel, or stainless steel.
- Head styles: Low-profile round head, countersunk head, truss head.
- Sizes: Diameters from about 3 mm up to 6 mm+, lengths to suit material thickness.See Hammer Drive Rivets Sizes for details

Key Components
- Body (Barrel): Hollow stem with a flared blind end.
- Mandrel (Pin): Solid pin integral to the body.
- Head: Pre-formed on the barrel—determines final grip and appearance.
How do hammer drive rivets work?
use a hammer (or a hammer-like tool) to drive a pin through the rivet body, causing the rivet to flare out and secure the materials being joined. This method is simple and works on blind or open holes, making it versatile for various applications.1. Insertion:
The rivet is inserted into a hole drilled through the materials being joined.
2. Driving the Pin:
A pin, often driven with a hammer or other tool, is pushed through the rivet head.
3. Flaring:
The pin forces the prongs inside the rivet body to flare out on the underside of the material.
4. Securing:
The flaring action creates a strong, permanent hold, securing the joined materials.
Advantages of Hammer-Drive Rivets
- Speed: Installed with a single hammer blow—no tools beyond a hammer.
- Simplicity: No special setting tools or drills—just pre-drill hole.
- Clean finish: Flush or low profile heads give a neat appearance.
- Vibration-resistant: Expanded blind side resists loosening.
- One-handed use: Ideal for tight spaces or overhead work.
Comparing to Other Blind Fasteners
| Feature | Hammer-Drive Rivet | Blind Rivet (Pop) | Threaded Insert |
|---|---|---|---|
| Installation Speed | ★★★★★ | ★★★★☆ | ★★☆☆☆ |
| Tooling Required | Hammer only | Rivet gun | Insertion tool |
| Reusability | No | No | Yes |
| Vibration Resistance | Good | Excellent | Excellent |
| Strength (Shear/Tensile) | Moderate | High | Very High |
| Cost per Fastener | Low | Medium | High |
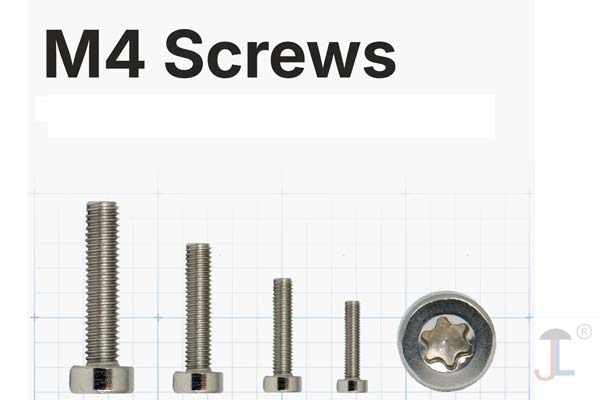
What is a hammer drive screw used for?
Hammer drive screws, also known as U-drive screws, are used for permanent fastening in metals and plastics. They are self-tapping screws with a round head and no slot, typically used for securing items like nameplates in castings. They are installed using a hammer or mallet.Key uses for hammer drive screws include:
Attaching nameplates and signs: Their ability to create a secure and tamper-resistant fastening makes them ideal for permanently affixing identification plates, logos, and signs to equipment, machinery, or structures.
Securing components in castings: They are often used to fasten parts or covers to metal castings.
Permanent assemblies in metal and plastics: Generally, they are employed in applications where a strong, durable, and irreversible joint is needed in softer metals and various types of plastics.
Selecting the Right Rivet
- Material Compatibility: Match rivet material to substrates to avoid galvanic corrosion.
- Grip Range: Total thickness of joined materials—body length must exceed this.
- Diameter: Larger diameters give higher shear strength; balance strength vs. hole size.
-
Head Style:
- Flat/Flush heads for countersunk or smooth finish.
- Roundheads for maximum bearing area on the surface.
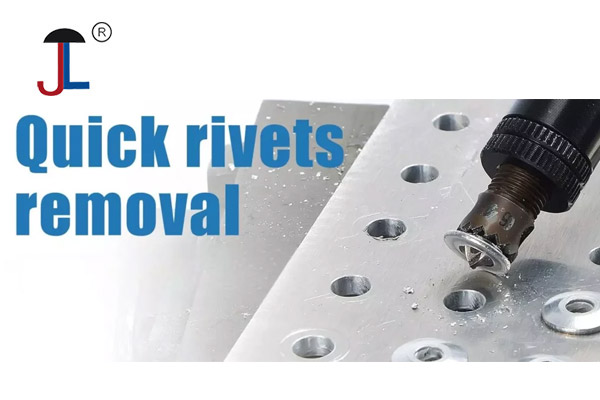
How do you install hammer rivets?
-
Drill the Hole
- Use the recommended drill size for your rivet diameter (e.g., 4 mm rivets require a 4.1 mm drill).
-
Clean & Deburr
- Remove burrs to ensure proper seating.
-
Insert the Rivet
- Push the blind end through the materials until the head sits flush.
-
Seat the Mandrel
- Place the hammer lightly on the mandrel head to hold it.
-
Drive the Rivet
- Firmly strike the mandrel head. You’ll feel the mandrel “snap” as it expands the barrel.
-
Check the Joint
- Ensure the rivet body has flared on the blind side and the joint is tight.
Tip: For harder materials, use a ball-peen hammer; for softer, a nylon-head mallet helps prevent deformation.